Analyzing a new firmware file - getting started
In this post, we will start to analyze an AJ27 CPU firmware file.
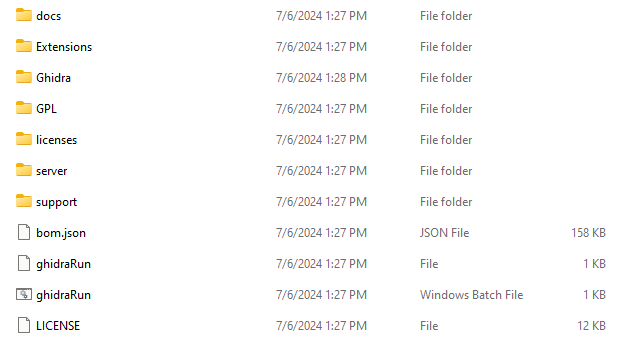
First we need to open Ghidra. If you are using windows (as opposed to Linux, Mac, etc.) then this can be done by double clicking on the “ghidraRun” Windows Batch File in the Ghidra directory you hopefully have downloaded and extracted. (snapshot of directory for version Ghidra 11.1.1 shown below)
To analyze AJ27 files we need to have installed the HC16 processor and the b68 Loader extensions (see earlier posts)
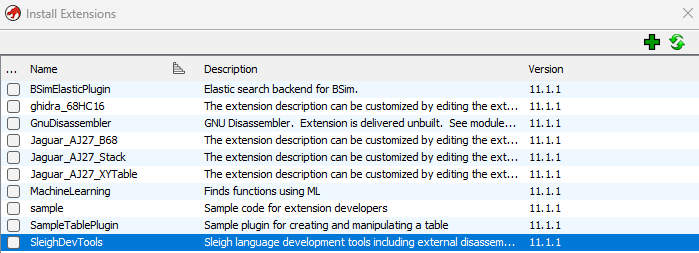
You can find some sample b68 files, as well as Ghidra 11.1.1 versions of the processor module and loader here (if you are running a different version of Ghidra, you will likely have to build and export appropriate versions of the two modules using GhidaDev, for import into Ghidra)
Create a new Ghidra project, e.g. with name “AJ27 Analysis”
- File > New Project…
- Non-Shared Project, Next »
- write “AJ27 Analysis” in the Project Name Box
- Finish
Then import a file
- File > Import File…
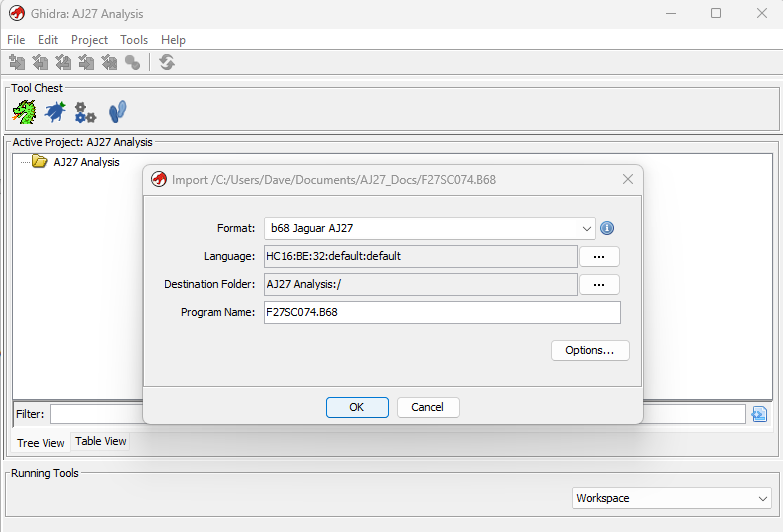
- Navigate to a target file, let’s use F27SC074.b68 (assuming you downloaded it from the repository above)
If you have installed the loader and processor module OK, then you should see the following dialog box
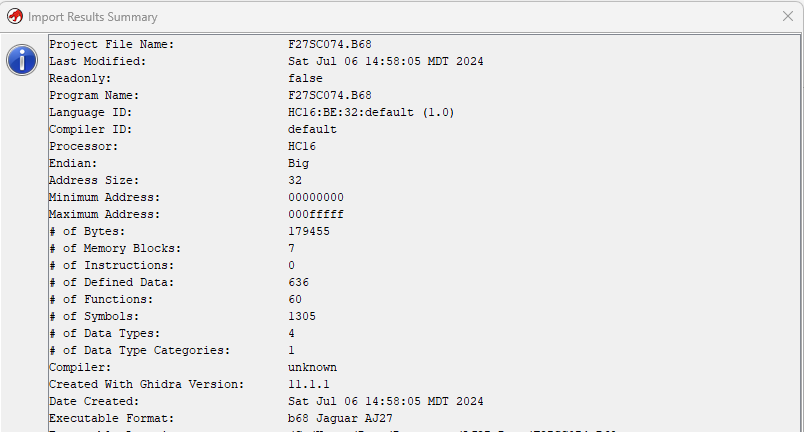
Click OK, and if successful you should see a summary of the file import
Click OK, and then double click on the F27SC074.b68 file in the Active Project window. This will start the Ghidra Code Browser tool, and a new window will open, plus a dialog box that asks “F27SC074.B68 has not been analyzed. Would you like to analyze it now?”
Click No (no big deal if you click yes, but some of the defaults don’t work so well on this file type)
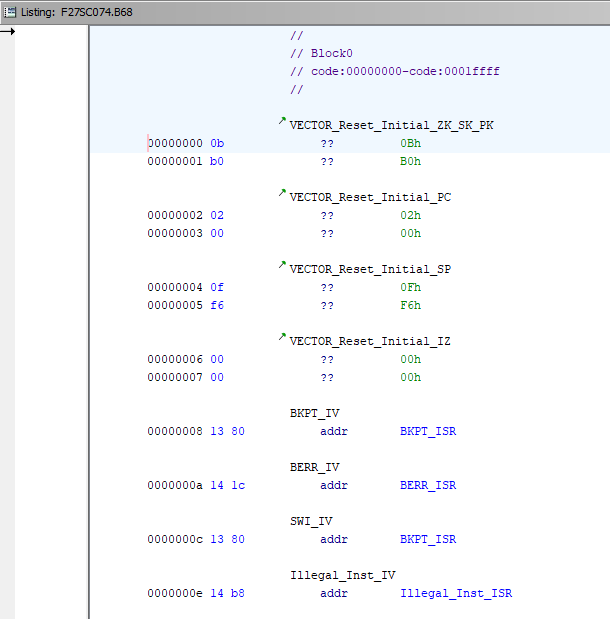
You should now have a listing window open, that looks something like this.
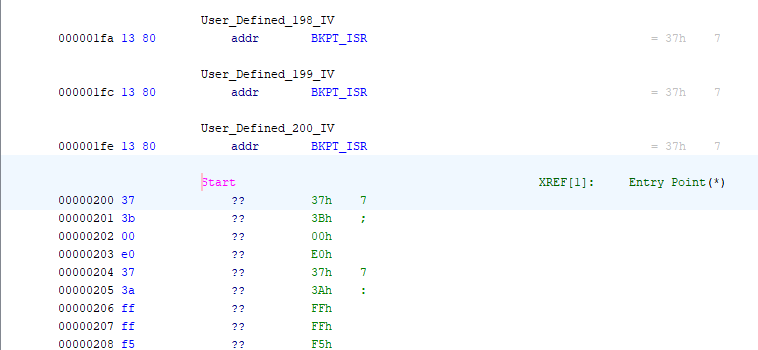
In the menus, click Navigation > Go To, type 200 in the box, and click OK. You should see something like this.
Press “D” on the keyboard, or right click on address 200 and select “Disassemble”, and Ghidra will start disassembly at address 200
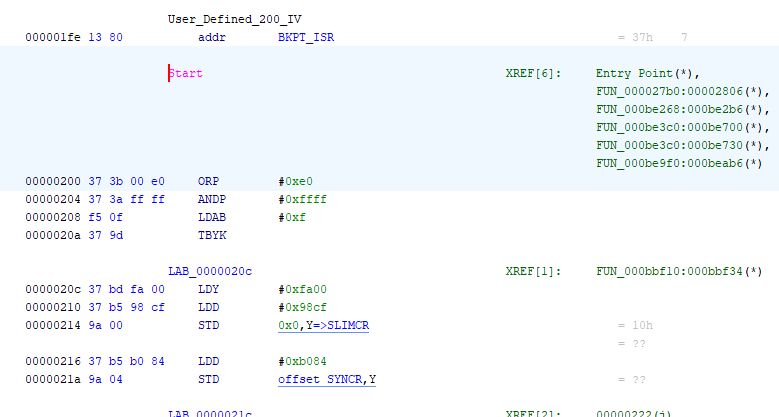
Ghidra will work to disassemble all the code it can logically find in the file. The areas that are disassembled are shown at the far right, likely in red color if you have not changed the Ghidra defaults. And the areas that are not disassembled will be in a gray/purple color. These areas are either data (like lookup tables, jump tables, etc.), or code areas that Ghidra was not able to easily identify.
Assuming your cursor is still at address 200, click the “U” letter just under the top menu bar (there will be several letters there like I D U L F V B). This tells Ghidra to jump to the next unknown code byte (where it could not successfully disassemble).
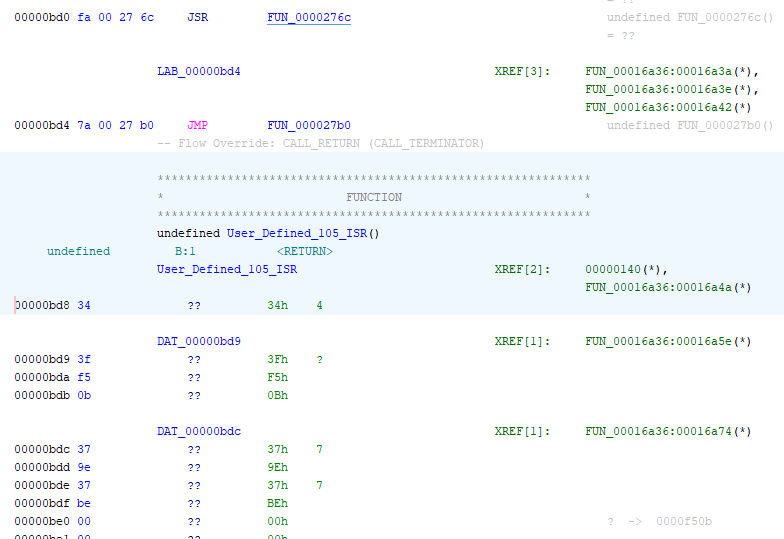
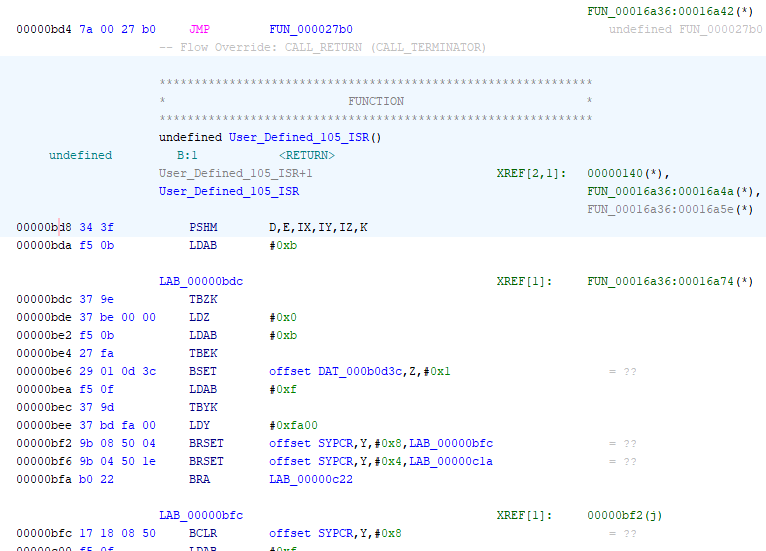
Ghidra disassembled up to address bd4, and then followed the jump to 27b0 to continue disassembly. And there was no code path back to bd8 - we know this because it is labeled “User_Defined_105_ISR”, which is an annotation created by the loader, which found an exception vector pointing to this address. So the only likely way this code is called is via an interrupt. If true, then we should be able to disassemble code at location bd8. Click on address bd8 so the cursor moves to this address, and press “D”. The bytes do indeed disassemble.
Click “U” to go to the next unknown byte. This takes us to address e62, where we can again try to disassemble the code (using “D”) and are again successful. The next unknown byte is at e8a, and this time it is not code. You can try to disassemble from here, and it will actually work, but the code is fairly obviously garbage.
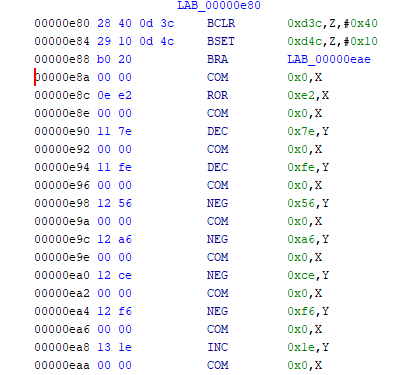
Click edit > undo to reverse the disassemble if you tried it. These bytes are actually a table of 4 byte function addresses (a jump table), which is called from the JSR instruction at address 0x0ece. So we might want to format and label these bytes appropriately. One of the clues that there is a table at 0x0e8e is this section of code
        00000eb8 f5 00           LDAB       #0x0
        00000eba 37 9c           TBXK
        00000ebc 37 bc 0e 8a     LDX        #0xe8a
Register X is loaded with the extended (20 bit) address 0x00e8a, using the TBXK instruction for the top 4 bits, and the LDX immediate16 for the bottom 16 bits. Working through more examples, it turns out that this is a typical pattern (and the corresponding version using the Y register - TBYK LDY#bbbb) to reference the start address of a table. We can use this to help identify sections of the file that are likely to be data and not code, noting that it is not fool proof but works much of the time. One way to speed things up is to write a analyzer to work through the code, and capture all the addresses that are pointed to by these patterns. An example is uploaded here (you can use it by creating an Analyzer module using Ghidra Dev called “JaguarAJ27_XYTable” and pasting in/replacing the contents of the java file in src/main/java)
One other helpful task to improve the code readability relates to indirect addressing using the Z register. Analysis of the code shows that for most of the time (excluding a few functions that use stack for parameter transfers/local variables) the Z register is used to point to the start address of the RAM block, and always has the value 0xb0000. Ghidra allows us to add this assumed value of the Z register to any code area. One way to do this is to select a block of code, right click on the block, select “Set Register Values”, choose the IZE register from the drop down box, enter the value 0xb0000 and click OK. Then clear the code bytes, and redo the disassembly. For example, consider the three instructions at address 0x0ed2
        00000ed2 2b 10 0d        BRSET      0xd4c,Z,#0x10,LAB_00000edc
                 4c 00 04
        00000ed8 29 10 0d 4d     BSET       0xd4d,Z,#0x10
                             LAB_00000edc                                    XREF[1]:     00000ed2(j)
        00000edc 28 10 0d 4c     BCLR       0xd4c,Z,#0x10
Applying the IZE=0xb0000 assumption to these 3 instructions results in the following
             assume IZE = 0xb0000
        00000ed2 2b 10 0d        BRSET      offset DAT_000b0d4c,Z,#0x10,LAB_00000edc         = ??
                 4c 00 04
        00000ed8 29 10 0d 4d     BSET       offset DAT_000b0d4d,Z,#0x10                      = ??
                             LAB_00000edc                                    XREF[1]:     00000ed2(j)
        00000edc 28 10 0d 4c     BCLR       offset DAT_000b0d4c,Z,#0x10                      = ??
We can see the assumption added in-line, and that the instructions are accessing the bytes in RAM at address b0d4c and 4d. We can go directly to this address (e.g. to see what other code accesses this memory location) by double clicking on “DAT_000b0d4c”. This greatly assists moving around the code when trying to analyze functionality.
One way to automate this, as well as to quickly re-create a marked up listing, is to use a Ghidra script. Working with scripts is well covered in “The Ghidra Book”, as well as other on-line resources. An example script to do this, as well as disassemble all the code areas, skipping the data areas, is as below. The data areas need to be logged once on a manual review of the code, and then can be added into the script.
import java.math.BigInteger;

import ghidra.app.script.GhidraScript;
import ghidra.program.disassemble.Disassembler;
import ghidra.program.model.address.Address;
import ghidra.program.model.address.AddressSet;
import ghidra.program.model.lang.Register;
import ghidra.program.model.lang.RegisterValue;
import ghidra.program.model.listing.ProgramContext;

public class F27SC074_501_disassemble extends GhidraScript {

	@Override
	protected void run() throws Exception {

		int codeTable[] = { 0x200, 0x0e89
				 , 0x0eae, 0x27a7
				 , 0x27b0, 0x2a89
				 , 0x2aae, 0x3dfd
				 , 0x3e22, 0x4157
				 , 0x4160, 0x4973
				 , 0x4994, 0x4a35
				 , 0x4a4a, 0x4aa9
				 , 0x4aac, 0x4b05
				 , 0x4b0c, 0x6603
				 , 0x6aac, 0x7fad
				 , 0x8000, 0xfb63
				 , 0xfb66, 0xfbeb
				 , 0xfbee, 0xfdd7
				 , 0x10000, 0x17965
				 , 0x17968, 0x179ed
				 , 0x179f0, 0x17a7b
				 , 0x17a7e, 0x17f9d
				 , 0x18000, 0x195b1
				 , 0x19692, 0x1993b
				 , 0x19940, 0x19f07
				 , 0x19f64, 0x1a33d
				 , 0x1a4be, 0x1a725
				 , 0x1a89a, 0x1c121
				 , 0x1c130, 0x1e15d
				 , 0x1e2f6, 0x1fe4f
				 , 0xbb730, 0xbdeab
				 , 0xbe094, 0xbe895
				 , 0xbe9ae, 0xbfcff };

				AddressSet as = new AddressSet();

				for (int n=0;n<codeTable.length/2;n++)
				{
					Address startAddress = toAddr(codeTable[n*2]);
					Address endAddress = toAddr(codeTable[(n*2)+1]);
					as.add(startAddress, endAddress);
				}

				clearListing(as);

				ProgramContext currentPC = currentProgram.getProgramContext();
				Register ek = currentPC.getRegister("EK");
				Register ize = currentPC.getRegister("IZE");

				BigInteger bi_1 = BigInteger.valueOf(0x0b0000);
				RegisterValue ekValue = new RegisterValue(ek, bi_1);
				RegisterValue izeValue = new RegisterValue(ize, bi_1);

				for (int n=0;n<codeTable.length/2;n++)
				{
					Address startAddress = toAddr(codeTable[n*2]);
					Address endAddress = toAddr(codeTable[(n*2)+1]);
					currentPC.setRegisterValue(startAddress, endAddress, ekValue);
					currentPC.setRegisterValue(startAddress, endAddress, izeValue);
				}

				Disassembler dis = Disassembler.getDisassembler(currentProgram, monitor, null);
				dis.disassemble(as, as, false);
			}

	}
This works for most of the code, however when the value of IZ is overidden by code that sets the value of IZ from a stack pull (e.g. PULM), then Ghidra assumes that the value of Z register has changed and is unknown. So in a few cases, it is ineffective, without additional fixes.